How to remove flux after soldering PCB?
08 February 2025
Views: 979
Flux is used to remove oxides from metal surfaces during soldering, ensuring a strong bond between components and PCB. However, after soldering, the remaining flux residue can cause corrosion problems. So it is necessary to remove the residual flux after soldering.

Types of flux residues
Each type of flux requires a different cleaning method. Flux can be divided into:
Rosin-based flux (RMA/RA): It leaves a hard, sticky residue after soldering and needs to be cleaned with a solvent.
Water-soluble flux: The residue produced can be cleaned with water.
No-clean flux: The residue is minimal, but cleaning may still be required for sensitive circuits.
Why remove flux?
Although some flux residues are marked as "no-clean", removing them can improve the appearance of the PCB. Removing flux can prevent corrosion, eliminate conductivity, make it more beautiful, and ensure longevity.
Methods to remove flux residues
There are several ways to remove flux residues from PCBs.
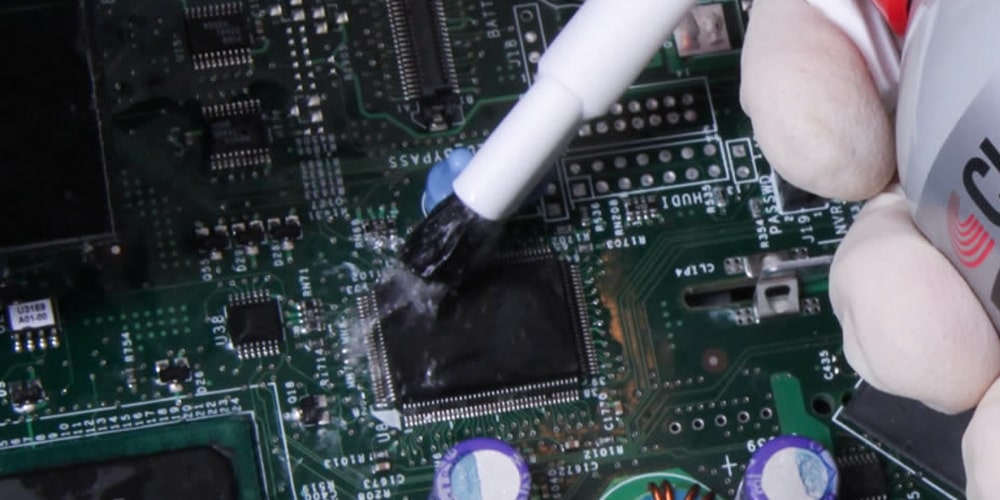
1. Manual cleaning with isopropyl alcohol (IPA), prepare 90% isopropyl alcohol, small brush, lint-free rag.
Steps:
1. Wet the brush with isopropyl alcohol;
2. Gently scrub the flux residue on the surface of the PCB;
3. Use a lint-free rag to wipe off excess alcohol and residue until the board is clean.
Advantages: Simple and effective, suitable for small-scale cleaning.
Disadvantages: Too complicated for large-scale production.
2. Ultrasonic cleaning, prepare ultrasonic cleaning machine and water
Steps:
1. Fill the ultrasonic cleaning machine with cleaning solution;
2. Place the PCB in the machine and run the cleaning cycle;
3. Rinse the PCB and let it dry thoroughly.
Advantages: Great for cleaning hard-to-reach areas.
Disadvantages: Expensive, not suitable for components that are sensitive to water or vibration.
3. Water cleaning. Prepare deionized water, soft brush
Steps:
1. Rinse the PCB with deionized water to remove flux residue;
2. Use a soft brush to gently scrub stubborn areas;
3. Use an oven to completely dry the PCB.
Advantages: Environmentally friendly and effective for water-soluble flux.
Disadvantages: Not suitable for circuit boards with non-waterproof components.
4. Special flux cleaner, commercially available flux remover spray, lint-free rags
Steps:
1. Apply flux remover to the surface of the PCB;
2. Gently scrub with a brush or rag;
3. Dry the PCB thoroughly.
Advantages: Fast and effective, suitable for a variety of flux types.
Disadvantages: Due to chemical fumes, proper ventilation may be required.
Conclusion
Removing flux after soldering is the key to ensuring whether the product will corrode after PCB assembly. Whether it is manual cleaning or ultrasonic cleaning, as long as it can be handled well, it can prevent PCB corrosion, eliminate conductivity, be more beautiful, and ensure life.


